Practically every web application needs a tool for managing it. A common solution is to build a so-called admin panel, from which you can make changes or add new content. In this post we show EasyAdmin, an extension prepared for the Symfony framework.
What do we need to get started?
First, we need to prepare the environment: a fresh installation of the latest version of the Symfony framework. I suggest reading the project’s official documentation, which covers setting up a new project thoroughly.
EasyAdmin
It is delivered as a so-called bundle, a package dedicated to the Symfony framework. There are several admin panel solutions for Symfony on the market, but EasyAdmin seems to fit small and medium-sized projects perfectly, offering a compromise between extensive features and easy integration. If we are looking for a more advanced tool, it is worth looking at the Sonata project.
At the beginning of its development, EasyAdmin had limited capabilities and basically only supported simple CRUDs. With version 2 of the package, however, a completely redesigned architecture was introduced, which made it possible to build more advanced forms and views. Today the project is developing vigorously and seems to be one of the most popular Symfony extensions.
First of all, we need to install EasyAdmin in our project.
composer require easycorp/easyadmin-bundle
Composer will do everything for us, including running the so-called recipes and clearing the cache.
At this point we are ready to start building the admin panel.
Dashboard
First we need to create a dashboard. It is the starting point of our panel, the place that will be visible right after logging in. Here too we will use a console command, this time one that is part of the EasyAdmin package.
php bin/console make:admin:dashboard
After running the command, we will be asked a few details about our panel. We can answer all the questions with the default values.
easyadmin@58d40ca66f72:/var/www# php bin/console make:admin:dashboard

 Which class name do you prefer for your Dashboard controller? [DashboardController]:
 >

 In which directory of your project do you want to generate "DashboardController"? [src/Controller/Admin/]:
 >


 [OK] Your dashboard class has been successfully generated.


 Next steps:
 * Configure your Dashboard at "src/Controller/Admin/DashboardController.php"
 * Run "make:admin:crud" to generate CRUD controllers and link them from the Dashboard.
As a result, a file called DashboardController will be created in the src/Controller/Admin directory. In it we will find a generated index action, to which the default route of our panel, /admin, should be attached. When we enter the right address in the web browser, we should see the welcome screen of our admin panel, telling us that everything went correctly.
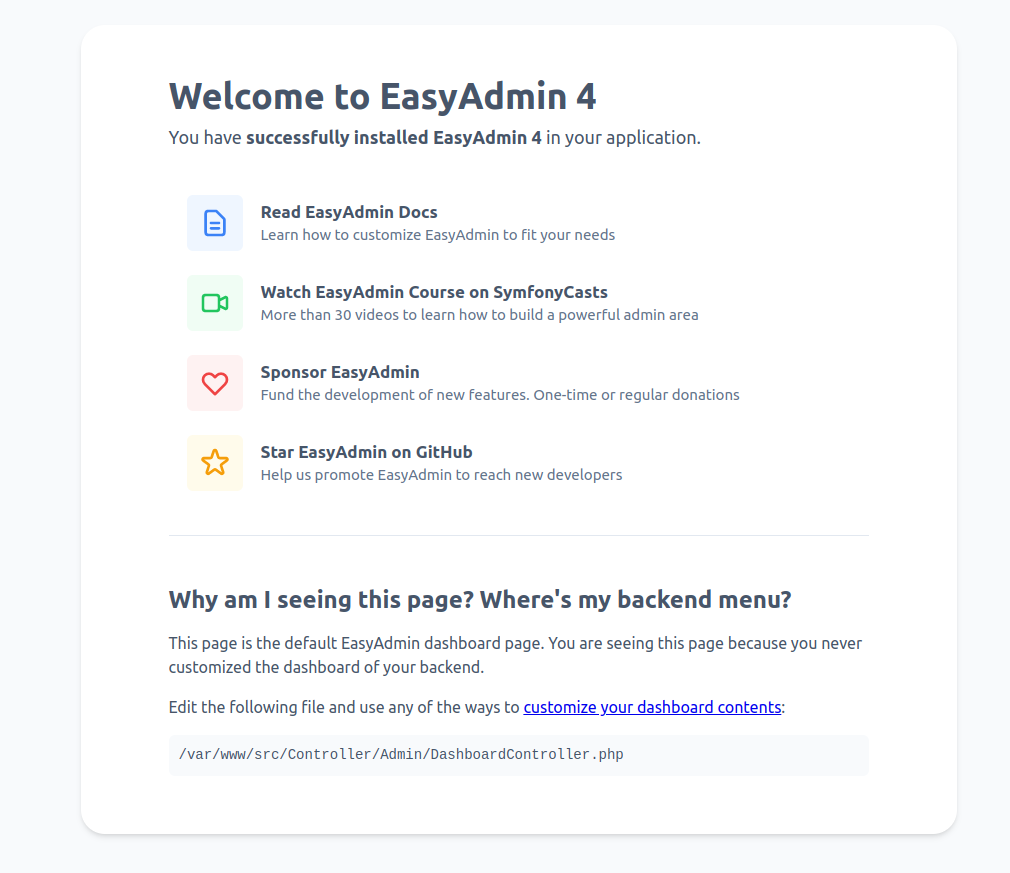
As the welcome screen says, it is time to adapt the dashboard to our needs. In the generated controller we should find the configureDashboard method, where we can make a few important changes.
public function configureDashboard(): Dashboard
{
    return Dashboard::new()
        ->setTitle('Admin Panel')
        ->setFaviconPath('/img/fav.svg')
    ;
}
We will come back to our dashboard once we have a ready entity management module.
Generating a CRUD
What makes EasyAdmin so popular is how easily we can generate the code responsible for database operations. To see how simple it is, we need to prepare an entity. In our case it seems natural that we need to create users, who will later be used to authenticate in the application. To do this we will use another very useful tool, MakerBundle, which should already be installed in our Symfony application. Just run the right command and answer a few questions, and the framework will generate the appropriate class for us.
easyadmin@58d40ca66f72:/var/www# php bin/console make:user

 The name of the security user class (e.g. User) [User]:
 >

 Do you want to store user data in the database (via Doctrine)? (yes/no) [yes]:
 >

 Enter a property name that will be the unique "display" name for the user (e.g. email, username, uuid) [email]:
 >

 Will this app need to hash/check user passwords? Choose No if passwords are not needed or will be checked/hashed by some other system (e.g. a single sign-on server).

 Does this app need to hash/check user passwords? (yes/no) [yes]:
 >

 created: src/Entity/User.php
 created: src/Repository/UserRepository.php
 updated: src/Entity/User.php
 updated: config/packages/security.yaml


  Success!


 Next Steps:
   - Review your new App\Entity\User class.
   - Use make:entity to add more fields to your User entity and then run make:migration.
   - Create a way to authenticate! See https://symfony.com/doc/current/security.html
The maker generated a user class and a repository for us, and updated the security.yaml file, which we will not deal with for now. At this point we are almost ready to generate the whole CRUD mechanism for the User entity. We still need to make sure our entity is reflected in the database. It is best to use the built-in migrations mechanism. The maker helps us here too, this time generating a migration class for us.
php bin/console make:migration
Once we have created the migration, we need to run it. This operation also comes down to a single console command.
php bin/console doctrine:migrations:migrate
We have reached the point where we have prepared all the elements needed to generate the user management module. So we can ask the maker to do it for us.
php bin/console make:admin:crud
After running it, the droid will ask us for the entity for which we want to generate the admin panel. It will also ask for the target location of the newly created controller and its namespace. As a result, our web application should gain a new controller class responsible for managing users.
Once we have made sure the new file has appeared in the right place, we can go back to our dashboard. We will make a few changes that let us display the freshly generated user management module.
First, we will modify the index action so that the EasyAdmin welcome screen is no longer displayed. There are several ways to approach this. The simplest, however, is to make the user be redirected to a specific module by default when entering our admin panel. We already have a ready solution for users, so that is where we will redirect.
#[Route('/admin', name: 'admin')]
public function index(): Response
{
    $adminUrlGenerator = $this->container->get(AdminUrlGenerator::class);
    return $this->redirect($adminUrlGenerator->setController(UserCrudController::class)->generateUrl());
}
So we remove the call to the parent class constructor and add a redirect instead. The next dashboard method we should adapt is configureMenuItems. We will make sure that the main menu of our panel contains an item that takes us to user management. At the same time, we comment out the menu item that leads to the dashboard, as linking to it makes no sense in the current situation.
public function configureMenuItems(): iterable
{
    //yield MenuItem::linkToDashboard('Dashboard', 'fa fa-home');
    yield MenuItem::linkToCrud('app.users', 'fas fa-list', User::class);
}
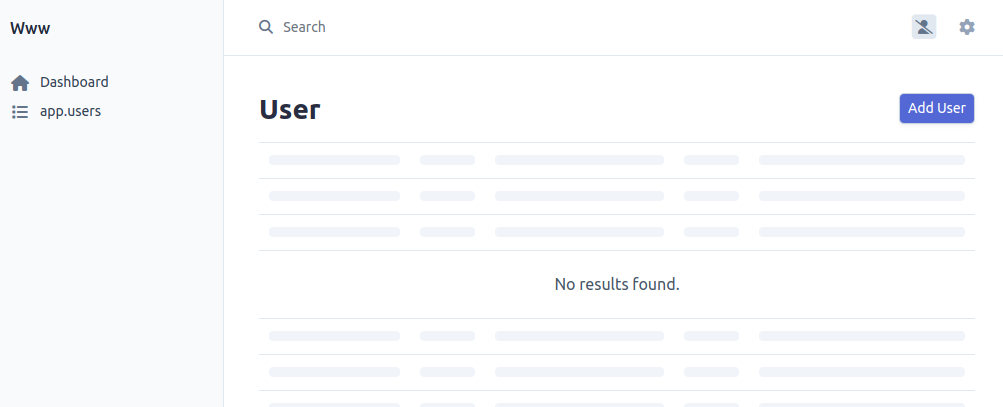
Now let’s see what our web application looks like. We should see a neat admin panel. EasyAdmin has several colour versions, which we can switch in the user settings.
Summary
The topics covered in this post are only the first step towards building a fully functional application, but as you can see, Symfony and EasyAdmin make it very easy to create panels for managing web applications. The next step should be restricting access and setting up proper authorisation, which we cover in our article on authentication in Symfony.